If gardening is one of your hobbies and you want your plants to get natural breathing despite implanting it into a pot, terracotta pots are the best. In Italian it means “Baked Earth” which is a substance from nature, so plants with terracotta look very natural.
Let me introduce you to some of them. Terracotta pots are very flexible and artistic to use. They have pores that allow air, water, extract, and manure to transmit through the clay wall. All the natural ingredients help to prevent soil diseases and rotting.
People have been using terracotta for centuries. And in the 19th century, it became famous in the Western side of the world. If you are already familiar with them, you should also know how to seal terracotta pots.
To be noted, sealed pots are surprisingly resistant to fungi and bacteria. They are not very expensive. You can find terracotta pots anywhere in any size. From miniature 2inch pots to 20inch pots all are so handy to use.
These are the benefits of these pots. Remember that, sealing those terracotta pots is the most important part. If your pots are not sealed, you may face some unwanted issues like fading pots, cracking marks, poisoning of plants, or spot/mark on the table. So we have designed this article to give you some methods and solutions of how you will seal your terracotta pots. Let us begin.
See Also: Our selected Paint for Outdoor Ceramic Pots list for you – Top 7 picks.
Why is Sealing Terracotta Pots Important?
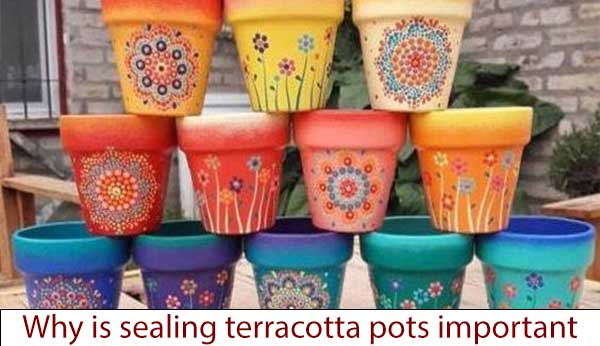
- Despite being so useful, available, and inexpensive, this porous nature of the terracotta pots can be a little bit disturbing. It can be harmful to the plants and croaky for the desks sometimes.
- You know, when the terracotta is fired while making pots, it is no longer watertight. It evaporates water and absorbs moisture like a sponge. Changes in the temperature, freezing rain, snowfall etcetera can create cracking as clay wants to expand. Leaking water can leave water rings on the tables. The outside paint can also get chipped for leaking.
- You never want any frail plant, faded pot, or a splashy desk around a beautiful garden area. So, you have to be clear about how to seal terracotta pots.
See This:
- Top 5 Manure for Vegetable Garden for your Garden – Buying guide.
- Top 5 Soil for Beans An expert reviews and buying guide.
How do the plants get affected?
Terracotta pots have the quality of drying out the soil so fast. It’s a natural curse for them. Porous nature makes clay crumbly which is good. But these pores can leak paints and they can reach the roots. Paints make plants poisonous.
What can you do to prevent this?
If the maker does surface-burnish the body before firing, a layer of glaze can make the pots watertight. You can find lots of sealed pots in the market. But you may not be satisfied with the texture.
The Process of Sealing Terracotta Pots
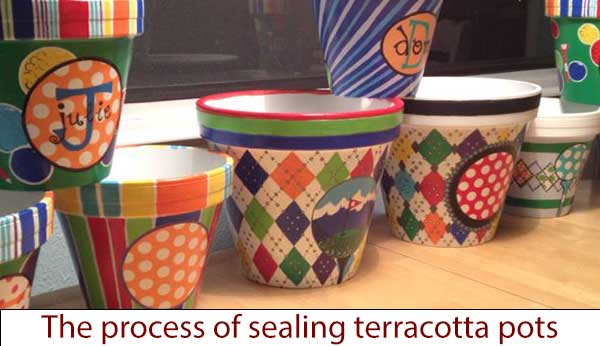
There are multiple ways to seal your pots. Here I present the classical yet the easiest process of sealing terracotta pots:
Washing and drying
It is always a good idea to wash all the pots that you want to seal. Use mild soap or detergent to remove dirt and dust. Then wash it with normal water. Wait for a sound amount of time to dry your pots. You must involve your time to be a good gardener. Take a rest and let the pots absorb the moisture. Oh, if your pots are already clean and dry you can just rub them with a clean cloth or towel before applying the sealer.
Choose a sealer
Decide first, which kind of sealer you want to use? There are several forms of the sealant like – spray-sealer, gluten, glossy, water-based, oil-based, and many more. Mainly, you have to select whether you would like to spray the sealant without touching it or you want to get involved with a brush and seal it with good coverage.
Also Read:
- Get a good quality Weed Barrier for Vegetable Top 5 picks.
- Top 5 Review for 75 ft Expandable Garden Hose Selection in 2022.
When You Select to Spray-Seal Your Pots, Some of Your Choices Can Be-
- Spar Urethane (oil-based)
- Plaid clay pot sealer
- Aleene’s acrylic sealer
- Thompson’s water seal
- Flex Seal
- Water Guard by Olympic
- Impregnator sealer by Miracle Sealants
If You Are Comfortable With Brushing I Can Suggest You Some Sealer With Brush-On:
- Mod Podge( with 5 coats)
- Rust-Oleum Ultra Cover Gloss in Clear
- DecoArt Americana Multipurpose Sealer
- Delta all-purpose sealer
Things You Will Need
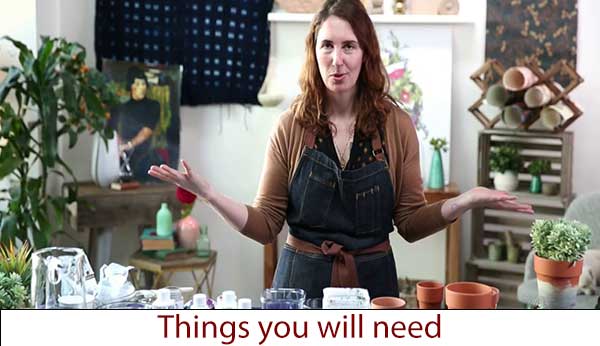
- Terracotta Pots
- Clean damp cloth
- Mild soap/ detergent
- Sealer (any kind)
- A can opener may be to open the glossy can
- Brush (different sizes)
- Gloves while using a spray sealer
Apply the Sealer Masterly
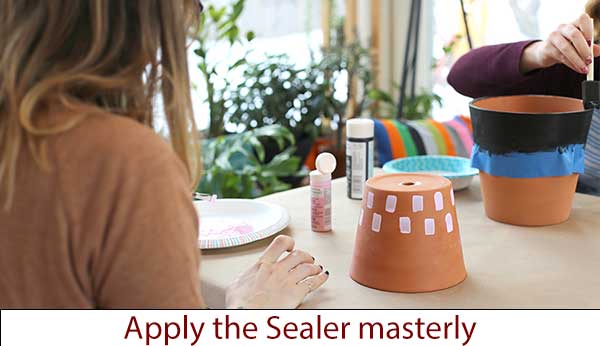
Spraying
Step 1: Select a place to spray. Although it is said that, spray in a well-ventilated area on the inside, but you can spray outside in an open area for your proper breathing.
Step 2: Apply the spray gently. Be careful to cover the whole area. Two coats are enough for spray sealing. I would suggest- if you have already painted your pots you should seal them by spraying them again. Brushing can be fragile for the paint.
Step 3: Leave your pots for drying. After 10-12 hours, you can use the newly sealed pots.
Brushing
If you choose to brush, apply at least two coats. But be ready to apply multiple coats if your pots are not painted.
Step 1: Select the brush type. You can use a normal paintbrush or foam brush but wider ones are better to use. Standard 1 or 2-inch brushes are perfect to use. You can use a smaller ½ inch artist brush for the corner lip of your pots.
Step 2: Apply the sealer smoothly in the center with a circular motion. Gradually slide through the peripheral areas and brush. Finish the corner and the back with minimal brush strokes.
Step 3: After you are done with the first coat, dry it and apply the second coat. For multiple coats, use the same pattern.
Step 4: If you are content with sealing you may leave them for two days in a safe and clean place for curing themselves. After that, you are ready to put them back in your precious house garden under your favorite plants.
Additional Suggestions
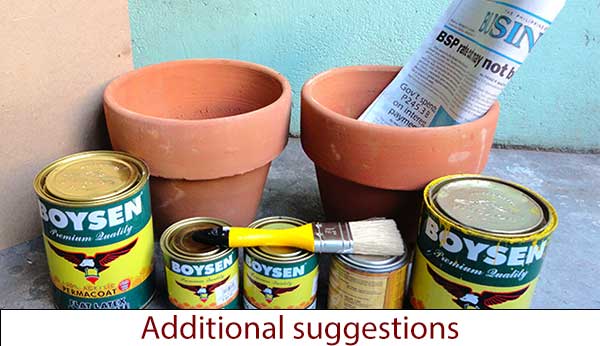
No matter if you spray or brush, do it from both the inside and outside. Sealing inside creates a protected area itself. But applying outside will make sure that your finishing is perfect and safe for the pots.
Keep a big paper/old newspaper laying on the table for the drips where you are working. You don’t want sealer drips on your floors or tables.
Plants with terracotta pots can be much heavier than they look when you just watered them. Many users find it as a disadvantage.
Also, it dries out the water so fast gardeners become more conscious about watering the plants. As they are made of clays, you have to be cautious while using them. They are easily breakable when dropped.
If you want to paint your pot, seal it too. Two terms are better but if not, one time can go. The painted pot must be sealed at the end. Spray paint is better, acrylic color is good. Apply paint with a foam brush smoothly. I mean, do your scrolling but use a sealer after that.
How I’m Sealing and Painting Terracotta Pots – 2 Beautiful Ideas:
Final Words
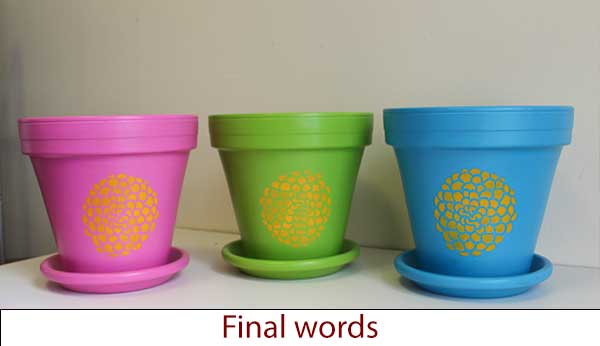
If you are passionate about plants, pots, and house gardening, this little time-consuming task is not so big for you. In the end, when you see the glorifying look of your pots and know that your plants will remain safe, you can feel the satisfaction inside. Now it will be easy for you to catch the amusement as you already know how to seal your terracotta pots. Just follow the instructions and become a responsible gardener.
Related article that you may like:
- Our selected Trellis for Cucumbers lists for you.
- Top 5 Field Cultivator reviews & buying guide.
- Different types of Electric Fence Wire and their uses.
- Get a good quality Fence Post from our lists.

David, the founder of The Garden Fixer, started with a passion for gardening in 2012. He has continued his passion for gardening and desire to improve his skills and wanted to share his journey and helpful knowledge with other like-minded individuals.
He launched The Garden Fixer as an outlet for those interested in learning more about Gardening in hopes they can take what they learn and apply it for themselves!