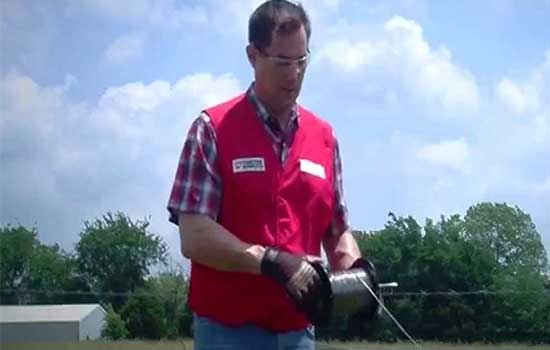
Have you installed an electric fence around your territory recently? If so, then checking on the fence charger at regular intervals is imperative.
Testing the fence wires regularly is an essential part of maintaining an electric fence. It keeps the system going and reduces the risks of any accidents.
But the testing procedure can be taxing, especially for novices. Most importantly, this process involves serious risk factors. So, shouldn’t we check the system at times?
Not really. With a few precautionary steps and the correct method, you can check the electric fence charger.
In this article, we will share multiple ergonomic methods to check on your electric fence charger. Continue reading to find the method that fits best to your needs.
Methods to Test an Electric Fence Charger
This section focuses on various methods of testing an electric fence. We recommend going through all the methods to pick a handy method for your use.
Let’s begin!
Related Post:
- Check out the most essential Review for Electric Fence Wire.
- Make sure you also check our guide for Chain Link Fence.
- Besides, you can choose some Fencing for Garden.
Method 1: Non-Contact Voltmeter
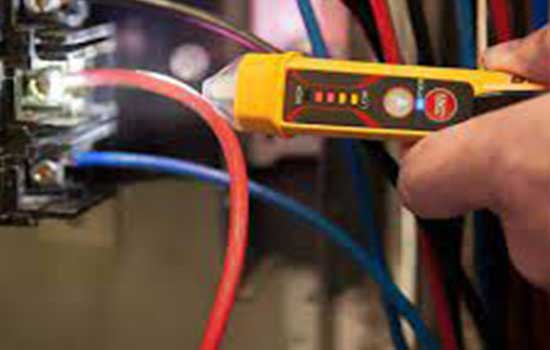
Step 1: Get a non-contact voltmeter from a tool supplier

As the name suggests, you may check for voltage without touching a wire with this tool. They can thus serve several tasks safely and effectively.
Non-contact voltmeters resemble particularly thick pencils with flat sides in appearance. When the meter is turned on, its translucent tip often blinks.
On the other hand, when adjacent electricity is detected, it stays light. In most cases, the meter will also beep when voltage is found.
Step 2: Check for a blinking light on the voltmeter’s tip

Non-contact voltmeters are fairly straightforward instruments. But before using one for the first time, you should always read the product instructions.
To turn the meter on, make sure a battery is in place and press the button. At the meter’s tip, you’ll see a blinking light that is frequently red. It is now switched on and prepared to go!
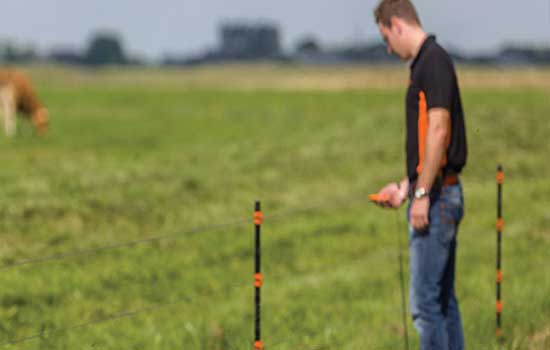
Step 3: Point the meter at the fence when you’re within 1.5 m.
As you approach an active electric fence within a body length, the meter will beep and light up. If not, slowly inch your way up to the barrier while avoiding making touch with it.
If the meter doesn’t light up and beep when you’re near the fence wire(s), there’s no voltage.
Remember that non-contact voltmeters don’t provide you with any data regarding the level of voltage. They just show if the voltage is flowing through the fence or not. If you need precise voltage readings, use an electric fence voltmeter instead.
Also See:
- Additionally, you can check our review on Temporary Fence.
- For more suggestions, you can read about Fence Post.
- Checking the Paint for Chain Link Fence will be helpful as well.
Step 4: Examine the whole fence for issues

The primary task is to check whether your initial test indicates that the fence is “On” or “Off.” It’s a good idea to double-check findings, right?
Walk the length of the fence while staying within 3-5 feet (0.91-1.52 m). Either point the meter at it constantly or at 50-100 foot (15-30 m) intervals.
But what if the “on” indicator appears in some sections of the fence but not in others? In such instances, use an electric fence voltmeter. That will allow you to see if you get variable voltage readings along the fence.
You might often get inconsistent readings or don’t have an electric fence voltmeter. In this incident, contact an electrician or electric fence installer.
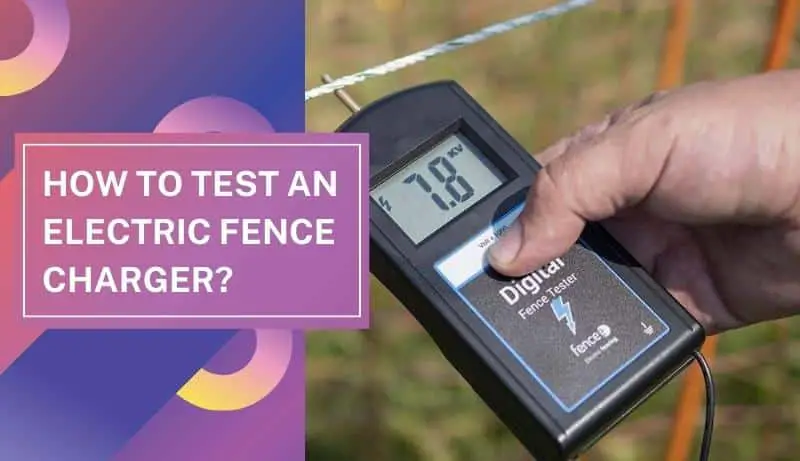
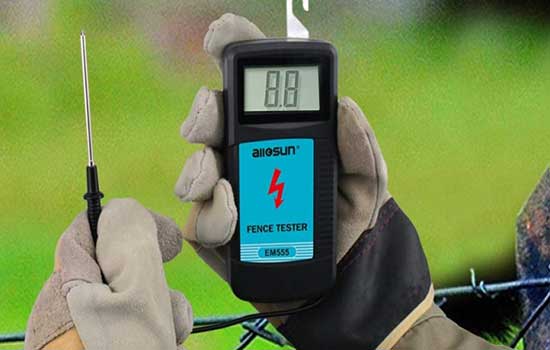
Method 2: Electric Fence Voltmeter Testing
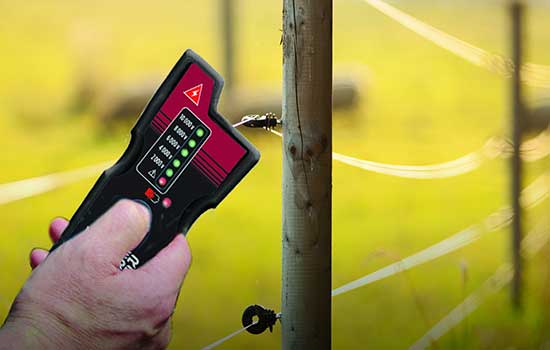
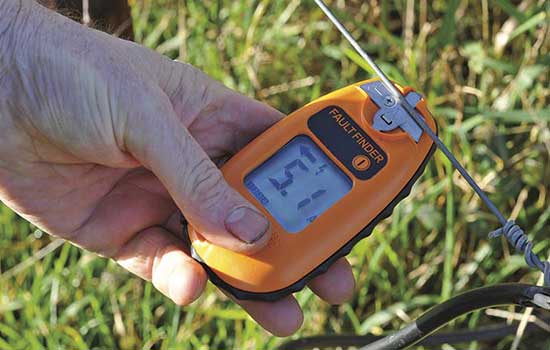
Step 1: Utilize an electric fence voltmeter to complete the task
A voltmeter is specifically made to detect voltage in electric fences. That makes the voltmeter the simplest and most accurate tool to use for the job.
Most models include a handheld meter with a digital readout and a metal prong on top. The wire-attached metal probe makes the checking more convenient. If you have an electric fence, the $30–$50 expenditure is worthwhile.
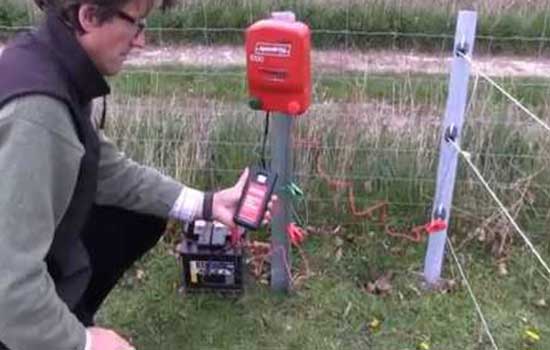
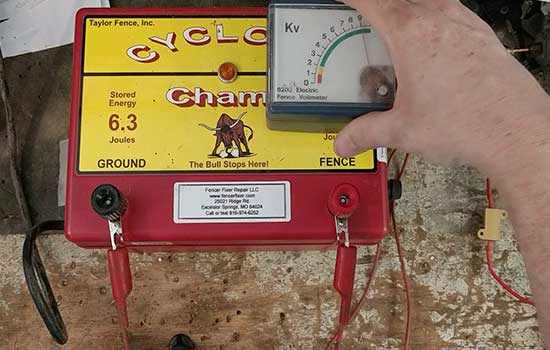
Step 2: Move to the farthest section of fence from the charger
The charger, which is often a tiny box, supplies power to the fence. But how will you be sure that the right voltage is flowing through the fence?
Don’t worry! Try reaching the distance that is farthest from it and measure the voltage there. That will allow you to get maximum accuracy.
To determine the correct voltage range for your fence, consult the owner’s manual or the charger’s signage. Electric fence voltages typically range from 2,000 to 10,000 volts, depending on the type of animals they are intended to control.
Step 3: If there is a ground wire, place the meter’s probe on it
If there are two or more wires on the fence, one of them is most likely a ground wire. To identify it, consult your owner’s manual.
However, if your fence doesn’t have a ground wire, skip this step. Instead, you can move to insert the probe into the ground.
If necessary, don’t hesitate to contact the fence manufacturer or an electrician. That way, you can properly identify the ground wire in the future.
Improper grounding is a major cause of electric fence malfunctions. On that account, it’s a good idea to have an expert check your ground wire connections.
But before you begin with the task, safety comes first. Avoid touching the metal tip with bare hands. Instead, keep your hand on the rubber or plastic portion of the probe.
Elsewise, your body will test the electric fence rather than the meter!
Step 4: If there is no ground wire, bury the meter’s probe
Not all fence model uses a ground wire. To fix this issue, simply stick the metal end of the probe several centimeters deep into the soil. This technique is highly efficacious when you’re not sure which wire on the fence is the ground wire.
In most cases, multi-wire fences lack a grounding wire. Nevertheless, single-wire fences are ground directly into the ground.
Try to embed as much of the probe’s metal tip as you can. When performing the test, be careful to avoid contacting the metal tip with your fingertips.
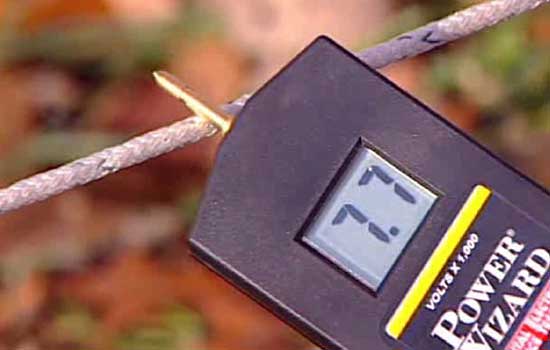
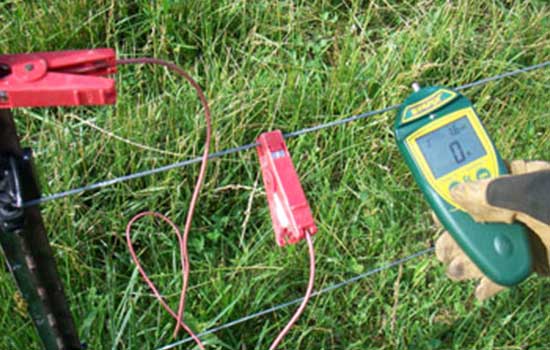
Step 5: Test each charged wire using the tester
Touch the metal prong on the tester to one of the charged wires. Make sure the probe still touching the ground wire or stuck in the soil. Ideally, you are supposed to repeat the test on every fence wire.
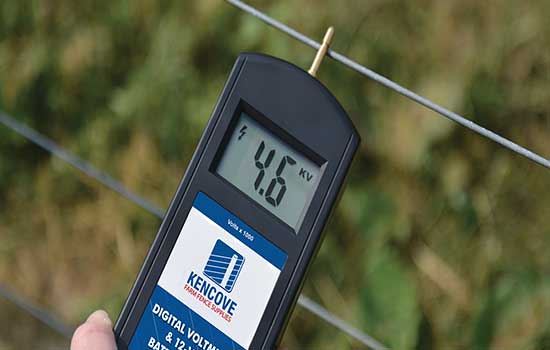
A voltage reading should be provided by the digital readout. Compare this reading to the voltage recommended for your fence model. The readouts are frequently in thousands, so a reading of 5.0 indicates 5000 volts.
If the reading is outside the recommended range for your fence, there is a problem. We recommend immediate servicing here.
If you don’t get a reading, make sure the voltmeter is turned on! If the meter is turned on, the fence is not charged.
Step 6: Repeat the test every 100 ft (30 m)
If you get a low voltage result, try repeating the test closer to the charger to see what’s wrong.
Even if the voltage reading is correct on the first try, crosschecking is always a good option.
For that, repeat the test in different locations. Simply walk along the fence and repeat the test every 100 feet (30 meters). That will leave no room for doubt.
Method 3: Alternative Method
Other than dedicated tools, you can opt for some quick fixes to check the fence charger. These methods give nearly accurate results. If you are skeptical about investing in a voltmeter, you can opt for this method. Following these steps will do the job.
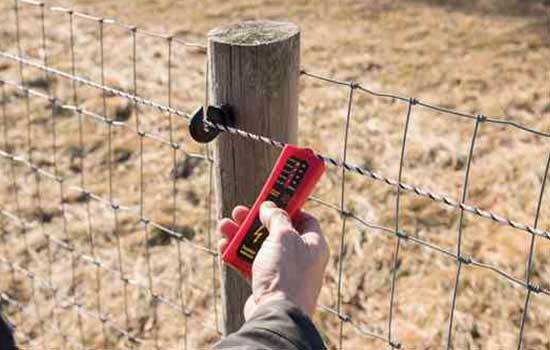
Step 1: Install electric fence indicator lights
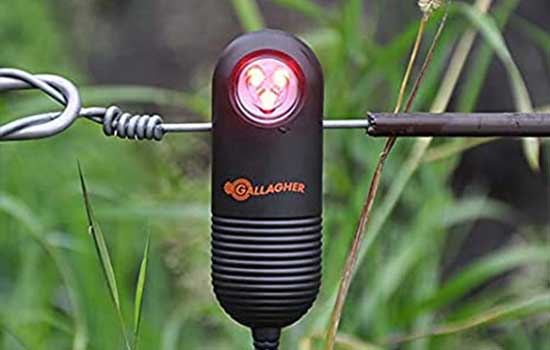
Installing an indicator is nothing complicated. You can follow the products’ instructions and attach this compact indicator at regular intervals. It will not require much toil.
The indicator light will be on as long as the fence is engaged. Since the indicator lies all over the fencing, taking safety precautions is primary.
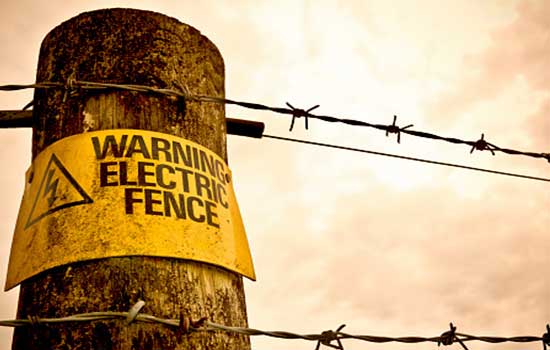
For that, you should purchase and periodically place plain warning signs. You can easily find these signs at retail shops.
Step 2: Check for an electromagnetic field using a compass
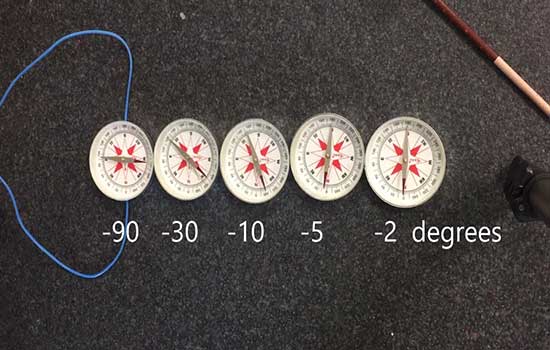
Bring the compass to within a few inches (5.1–7.6 cm) of each fencing wire. The compass arrow should vibrate if the cable is charged because of the magnetic field it produces.
Hold the compass close to each wire for 10 to 30 seconds for optimal results. The pulses that are often sent by electric fence chargers last between 10 and 30 seconds, and they will be more pronouncedly felt by your compass.
Step 3: Listen for humming or buzzing if it’s quiet
You might be able to hear a humming or buzzing sound if you are within 1 ft (30 cm) of the fence. This is because every 10–30 seconds, the fence charger sends out a pulse. You’ll be able to tell the fence is electric if you can.
However, silence does not necessarily indicate that the barrier is open. The pulses may just prevent you from hearing any sounds.
Any fence that audibly buzzes, hums, or crackles is probably suffering from a systemic short. You can ask a skilled repairman to look over the fence.
Step 4: Touch a fluorescent tube to the earth and fence

To reveal a region of loose soil, remove any grass or hard dirt with a shovel. The bulb’s 2 prongs should be inserted into the ground.
Connect a fence wire to the two prongs on the tube’s other end. It should flicker if the fence is charged. For this task, 3–4 ft (0.91–1.22 m) long shop light fluorescent bulbs work best.
Step 5: Using a plastic-handled screwdriver can cause sparks

Select a metal screwdriver with a thick plastic grip. Make sure your hand does not come into contact with any part of the metal.
Touch the screwdriver to each fencing wire. Now, look for an electric arc to form between the wire and the screwdriver.
If you don’t immediately notice any arcing, run the screwdriver back and forth over the wire for 10-30 seconds. If there is no arcing, the wire is most likely not charged. With the screwdriver, test each wire on the fence.
Step 6: Be careful with the fence!
You will get a painful zap on your hand and possibly some of the ways up your arm if you contact an operational electric fence. This is risky and ought to be avoided.
Never put your hand on the wire. One of the body’s natural reactions to an electric shock is to clench the hands.
If this happens, you might not be able to let go of the fence. This could result in severe burns or other wounds.
What is electromagnetic force?

Invisible magnetic and electric fields of force combine to form electromagnetic fields. They are produced by both human activities, mostly via the usage of electricity. EMF is primarily generated from natural processes like the Earth’s magnetic field.
How can you evaluate a fencer?
By shorting the fence charger’s terminals with a screwdriver with a plastic handle, you can test your fencer. The fence terminal should be the base of the screwdriver, and the ground terminal should be around 1/8″ away from the tip.
How to test your electric fence enegizer?
- How to Install Chain Link Fence on Concrete?
- How to Cover a Chain-Link Fence for Privacy?
- How to Build a Garden Fence to Keep Animals Out?
Is it possible to touch an electric fence without being shocked?

High-amperage and low-voltage home electrical outlets are in opposition to one another in your home (which is dangerous).
Someone who unintentionally touches an electric fence will be shocked. Always use caution and keep your upper body and head away from any electrified fences.
What causes the electric fence’s voltage to drop?
Voltage drop can result from something touching the wires. For instance, too much vegetation, a broken underground cable, a broken wire, or an insulator. A loose connection can lower the voltage as well.
How can I tell if the fence charger is defective?
The fence is the issue if there is a high voltage (the same as when it was purchased). In this instance, it might be a broken wire, a poor splice connection, or anything else preventing voltage from passing.
There is an issue with the charger if it turns on but doesn’t click, or if it clicks but the voltage is low.
What is voltmeter?
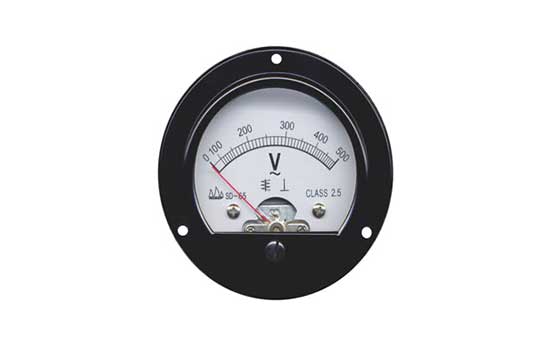
A voltage meter is a device that measures the voltage between two points in an electrical or electronic circuit.
Direct current (DC) circuits are the intended usage of some voltmeters. On contrary, alternating current (AC) circuits are the intended use of other voltmeters.
Why are there three ground rods on electric fences?
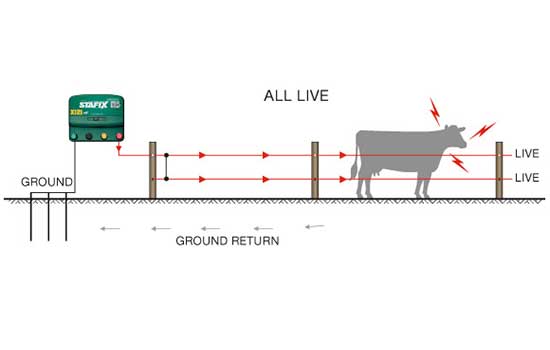
The majority of electrical fence systems call for three grounding rods or more. At the beginning of the fence, these rods should be positioned about 10 feet apart.
Grounding rods can obstruct phone and electrical lines that may be installed on the land.
How to test an electric fence charger?
Final Words
We hope these tips help you set up your electric fence before your crops sprout. Amazingly, humans have discovered how to make electricity and do what we want it to do.
Remember that the next time you’re inspecting your fence, trying to figure out where it might be grounded out. You’ll find it if you keep looking, and then you can pat yourself on the back. Now, you can look forward to celebrating your perseverance with delicious watermelon this summer.
See Also:

David, the founder of The Garden Fixer, started with a passion for gardening in 2012. He has continued his passion for gardening and desire to improve his skills and wanted to share his journey and helpful knowledge with other like-minded individuals.
He launched The Garden Fixer as an outlet for those interested in learning more about Gardening in hopes they can take what they learn and apply it for themselves!